Sonntag, 17. Februar 2013

Completed! The Kalbelia Costume Adventure Has Come to an End

I can't believe it. The Kalbelia costume is ready - after months of stitching and using up kilometers of trims. You can see the humble beginnings here
But now step by step - if you plan to make a costume like this yourself. Actually this costume was not very expensive in materials - I used very simple things that you can even find in your stash. But it was probably the most time-consuming project I ever made.
You need for the skirt:
2 (!) 3-tiers circular cotton skirts
The skirt you can see in the first post is actually only the first half of what I made. Then I realized that the skirt had to be wider so that it swirls beautifully.
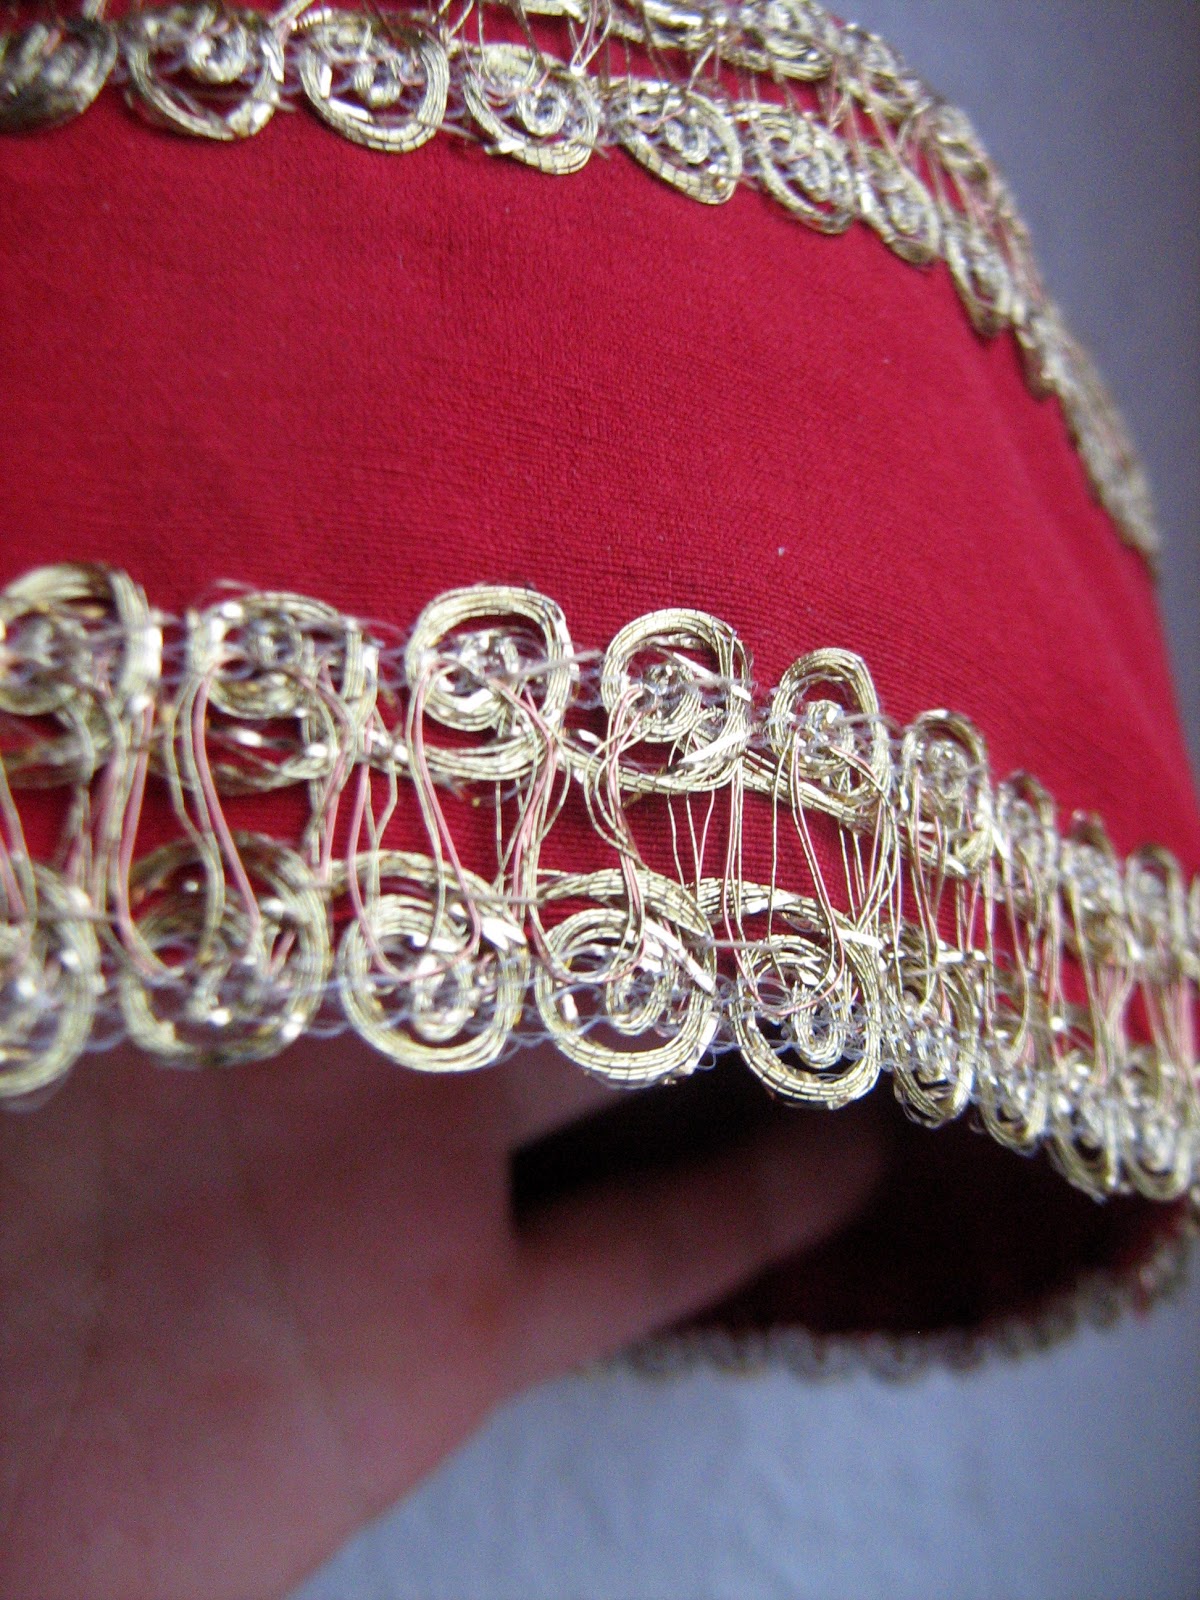
Lots (!) of trims and ribbons. Cheap satin ribbons are the best. I cannot name the exact amount I used, but I used at least 25m of each colour.   
Eventually some repurposed fabric in bright colours - in this case for the blue stripes on the skirt and the yellow pieces on the shirt with the cut-out diamonds.
In my first post I explained how I cut out the diamonds - actually a second time I'd probably first cut the diamonds out and add the white rickrack trim with hand stitches first before stitching it on the skirt with the machine. But it works both ways.
The sequins have been glued on the skirt with fabric glue - you could sew them as well, of course, but I didn't want to spend much time.
Then you'll need an already existing cotton blouse. I added some more length with some more cloth - this is optional.
The microbeaded stripes were the most expensive parts of the costume. Maybe I'll try to make them myself one day, beadweaving shouldn't be that complicated. The patterns are simple and you can make those stripes using a beadloom or even without.
The veil is made of very simple synthetic organdy and I just I added a silver fringed trim and a green ribbon for contrast.
So this is the result of months of research, and of stitching. We are just waiting for the next performance!

Dienstag, 15. Januar 2013

Recipe: Spinach and Cheese Börek

The pictures for this recipe have been sleeping on my computer for a while, but one dear friend asked me about it recently so here they are:

Börek with spinach and cheese filling

(I use here ready made Wantan dough, because it is less sticky and fragile than the Turkish yufka (fillo) dough).

Ingredients:

1 pck of wantan dough leaves
500 g spinach (steamed if fresh, or thawed)
300 g of feta (or similar) cheese
1 bunch of spring onions
garlic according to your taste
pepper
oil for frying
lemon slices


 Prepare the filling mixing all the ingredients.
Put a small (!) amount of filling on the leave (otherwise you will not be able to roll it properly). Fold sides vertically.


Roll up completely and press the part with the filling slightly in order to have a compact roll.

Deep fry in oil or coat it with vegetal oit and bake it in the oven until they have a golden colour.
Serve hot with lemon slices for an entrée or as finger food!

Dienstag, 4. Dezember 2012

Winter's Delight: Chai Syrup

In Greek and generally in medieval medicine man is said to be in the centre of two opposites: hot and cold, wet and dry. As long as the these elements are well balaced in our body we are healthy. An excess in any of the directions creates diseases. And of course we depend on our environment, that means, that in winter we are strongly exposed to cold and wet influences which affect our bodies. To prevent "colds" (as contemporary physicians state the common "cold" we catch has nothing to do with the temperature of the environment, but is a result of contagion) people used to eat food that was said to be "hot", such as certain spices, dried fruits and nuts. And it is not by chance these ingrediences are part of the traditional Christmas dishes in Central Europe. Especially the spices like cinnamon, clove, cardamom and pepper (all considered hot and dry) as well as ginger (considered hot and wet) that we get at every grocery store around the corner used to be more precious than gold and were carried with caravans and ships from Southeast Asia to Europe. 
You can read the most amazing stories in the wonderful book by Jack Turner!             Yesterday I prepared a wonderfully tasty Chai Syrup that concentrates the taste and the properties of all the above cited spieces. It is so easy and much more tasty than the commercial syrups which are also extremely pricey. It also makes a lovely christmas gift! Syrup consists of the same amount of sugar and water. Simmer it with the spices of your choice. Also the proportions depend onyour preferences; I made the syrup really spicy and hot; if you want to avoid this, reduce the amount of black pepper and ginger.
For 1 kg of sugar I used:
about 1 tablespoon of ground black pepper, cinnamon and cardamom
1/2 tablespoon of ground clove
2-3 tablespoons of whole aniseed
1 cup of fresh ginger, cut into small cubes.

Filter and pour into small bottles. This step is messy! but it's worth it.

Use it to flavour your coffee, tea, hot milk or whatever!

Freitag, 30. November 2012

Tutorial: Chinese Inspired Headpiece

 The last dance I created was a chinese inspired ribbon dance -  I made it for a dance show of my dear friend and colleague Claudina; she just launched her fabulous veil dance instuctional DVD (view the trailer here!) and so I decided to do something that could match the program.
So the dance and the costume were more or less ready, and I wanted to add some more 'bling' to the quite simple dress. I did some research how to make the base for the headpiece; it has to look somehow like this:

So cut out the plastic base and bond it together with masking tape. Sometimes you can even use a tennis cap turned upside down. As you will cover it with fabric later it doesn't matter if the masking tape is visible.
After that cut the fabric generously in the shape of the base and glue it on the surface. Then fold the fabric along the edges and glue the overlap on the back side. Keep the fabric in place with pins and let dry.
Now the most tricky part is done and you just have to glue or stitch the decoration on the base. The pieces dangeling from the temples are made of earrings with some red tassels. The golden lace balls are a part of christmas decoration. I made Kanzashi flowers with fabric scarps from the costume and added also some fabric orchids and severy jewellery pieces. I can only recommend the Kanzashi flower makers from Clover. They are cheap and so easy to use, you can't go wrong! Fabric yoyos are also very easy to make and look gorgeous in the ensemble.
A broad elastic strap holds the crown on the head. If you do backbends make sure that you secure it additionally with bobby pins.

Donnerstag, 29. November 2012

Qawwali caps in action :-)

I am so proud!
They look fabulous, huh?
Check the tutorial in my last post if you'd like to create a similar cap for yourself.
Backstage from the Show "From Madhubala to Madhuri" with Srijan Bollywood Company.


Picture Credit: Jaqueline Frick

Mittwoch, 7. November 2012

Dreams of Orange and Purple: Orange-Black Currant-Ginger Jam

 In August the garden is full of fruits and vegetables, besides there are so many other things to to, so when it is possible I just freeze a part of the crop and leave the preserves for later.
With this grey and foggy november weather I yearn for some colours and tried a new combination: black currant, orange and fresh ginger preserve.
You need:
1 kg black currant
1 kg Orange slices
1 kg 1:1 gelling sugar
5 cm of fresh ginger root

Mix fruits and sugar. Add raped ginger. Boil. Fill into jars.
This preserve is not very sweet and goes wonderfully with cheese or meat.


Dienstag, 6. November 2012

Tutorial: Qawwali Cap

Ready to go - here are the six Qawwali Dance Caps for my dear friends from the Indo-German Dance Duo Srijan. It was not easy to create those caps from the scratch, so I will show you now the most important steps so that you can avoid the mistakes I made on the way!
First we had to choose a model for the cap.
The Qawwali cap for women is modelled on the shape of the taqiyah cap for men - a traditional (prayer) cap worn by observant muslims. There are different shapes with different names all over the muslim world, but they are variations of the small short rounded prototype.
We chose a model with an oval base and two points, with an ostrich feather.  

So the most tricky thing was to find the exact basic shap. Since the center is oval i cannot give you any directions how to calculate the exact pattern. And probably it is more simple if you measure the circumference of your head ar the point you want to wear the capwith a paper strip and then to try to draw an oval shape that has the circumference of the same length like the strip.


I had to throw away the first set of ovals because I just drew them from my imagination and the caps were then way to small!
The second batch worked quite well.
Now you have the base.
You can line it and glue some other fabric remnant on the wrong side. Or you just leave it unlined, that depends on the fabric and on how stiff you want the cap to be (you can stiffen it later, too).

Then comes the most funny part: decorating!!
Grasp everything shiny and glittering you find in your stash or in the dollar store.
Earrings, feathers, ribbons. Exspecially around christmas you can find great metallic ribbons for almost no money.
Add hotfix stones (not in the picture) and GLUE!

 I couldn't glue the metallic trim, so I had to sew it, but glueing will save you a lot of time.
Then the feathers: Unite a youple of them to a bunch and fix it with maskin tape. Make now a small pocket of the same tape, but inverse in order to insert the featers here. Hide the pocket behind a "jewel". You can also glue the feathers here right away, but I wanted them to be detachable. You never know how you will transport your cap, and after a performance maybe you just want to toss it into your suitcase. 

 Now add all the other decorations you want. Nip off superfluous rings from the metal pieces.
And glue!
For the final shape of the cap use some cheap, sticky hair spray. Spray abundantly on the inside of the cap  and while wet, mould it into the right shape.
Finally add a thin elstic strap to secure the cap on your head, eventually use also some bobby pins.
Done!!