Posts mit dem Label Tutorial werden angezeigt. Alle Posts anzeigen

Sonntag, 17. Februar 2013

Completed! The Kalbelia Costume Adventure Has Come to an End

I can't believe it. The Kalbelia costume is ready - after months of stitching and using up kilometers of trims. You can see the humble beginnings here
But now step by step - if you plan to make a costume like this yourself. Actually this costume was not very expensive in materials - I used very simple things that you can even find in your stash. But it was probably the most time-consuming project I ever made.
You need for the skirt:
2 (!) 3-tiers circular cotton skirts
The skirt you can see in the first post is actually only the first half of what I made. Then I realized that the skirt had to be wider so that it swirls beautifully.
Lots (!) of trims and ribbons. Cheap satin ribbons are the best. I cannot name the exact amount I used, but I used at least 25m of each colour.   
Eventually some repurposed fabric in bright colours - in this case for the blue stripes on the skirt and the yellow pieces on the shirt with the cut-out diamonds.
In my first post I explained how I cut out the diamonds - actually a second time I'd probably first cut the diamonds out and add the white rickrack trim with hand stitches first before stitching it on the skirt with the machine. But it works both ways.
The sequins have been glued on the skirt with fabric glue - you could sew them as well, of course, but I didn't want to spend much time.
Then you'll need an already existing cotton blouse. I added some more length with some more cloth - this is optional.
The microbeaded stripes were the most expensive parts of the costume. Maybe I'll try to make them myself one day, beadweaving shouldn't be that complicated. The patterns are simple and you can make those stripes using a beadloom or even without.
The veil is made of very simple synthetic organdy and I just I added a silver fringed trim and a green ribbon for contrast.
So this is the result of months of research, and of stitching. We are just waiting for the next performance!

Freitag, 30. November 2012

Tutorial: Chinese Inspired Headpiece

 The last dance I created was a chinese inspired ribbon dance -  I made it for a dance show of my dear friend and colleague Claudina; she just launched her fabulous veil dance instuctional DVD (view the trailer here!) and so I decided to do something that could match the program.
So the dance and the costume were more or less ready, and I wanted to add some more 'bling' to the quite simple dress. I did some research how to make the base for the headpiece; it has to look somehow like this:

So cut out the plastic base and bond it together with masking tape. Sometimes you can even use a tennis cap turned upside down. As you will cover it with fabric later it doesn't matter if the masking tape is visible.
After that cut the fabric generously in the shape of the base and glue it on the surface. Then fold the fabric along the edges and glue the overlap on the back side. Keep the fabric in place with pins and let dry.
Now the most tricky part is done and you just have to glue or stitch the decoration on the base. The pieces dangeling from the temples are made of earrings with some red tassels. The golden lace balls are a part of christmas decoration. I made Kanzashi flowers with fabric scarps from the costume and added also some fabric orchids and severy jewellery pieces. I can only recommend the Kanzashi flower makers from Clover. They are cheap and so easy to use, you can't go wrong! Fabric yoyos are also very easy to make and look gorgeous in the ensemble.
A broad elastic strap holds the crown on the head. If you do backbends make sure that you secure it additionally with bobby pins.

Dienstag, 6. November 2012

Tutorial: Qawwali Cap

Ready to go - here are the six Qawwali Dance Caps for my dear friends from the Indo-German Dance Duo Srijan. It was not easy to create those caps from the scratch, so I will show you now the most important steps so that you can avoid the mistakes I made on the way!
First we had to choose a model for the cap.
The Qawwali cap for women is modelled on the shape of the taqiyah cap for men - a traditional (prayer) cap worn by observant muslims. There are different shapes with different names all over the muslim world, but they are variations of the small short rounded prototype.
We chose a model with an oval base and two points, with an ostrich feather.  

So the most tricky thing was to find the exact basic shap. Since the center is oval i cannot give you any directions how to calculate the exact pattern. And probably it is more simple if you measure the circumference of your head ar the point you want to wear the capwith a paper strip and then to try to draw an oval shape that has the circumference of the same length like the strip.


I had to throw away the first set of ovals because I just drew them from my imagination and the caps were then way to small!
The second batch worked quite well.
Now you have the base.
You can line it and glue some other fabric remnant on the wrong side. Or you just leave it unlined, that depends on the fabric and on how stiff you want the cap to be (you can stiffen it later, too).

Then comes the most funny part: decorating!!
Grasp everything shiny and glittering you find in your stash or in the dollar store.
Earrings, feathers, ribbons. Exspecially around christmas you can find great metallic ribbons for almost no money.
Add hotfix stones (not in the picture) and GLUE!

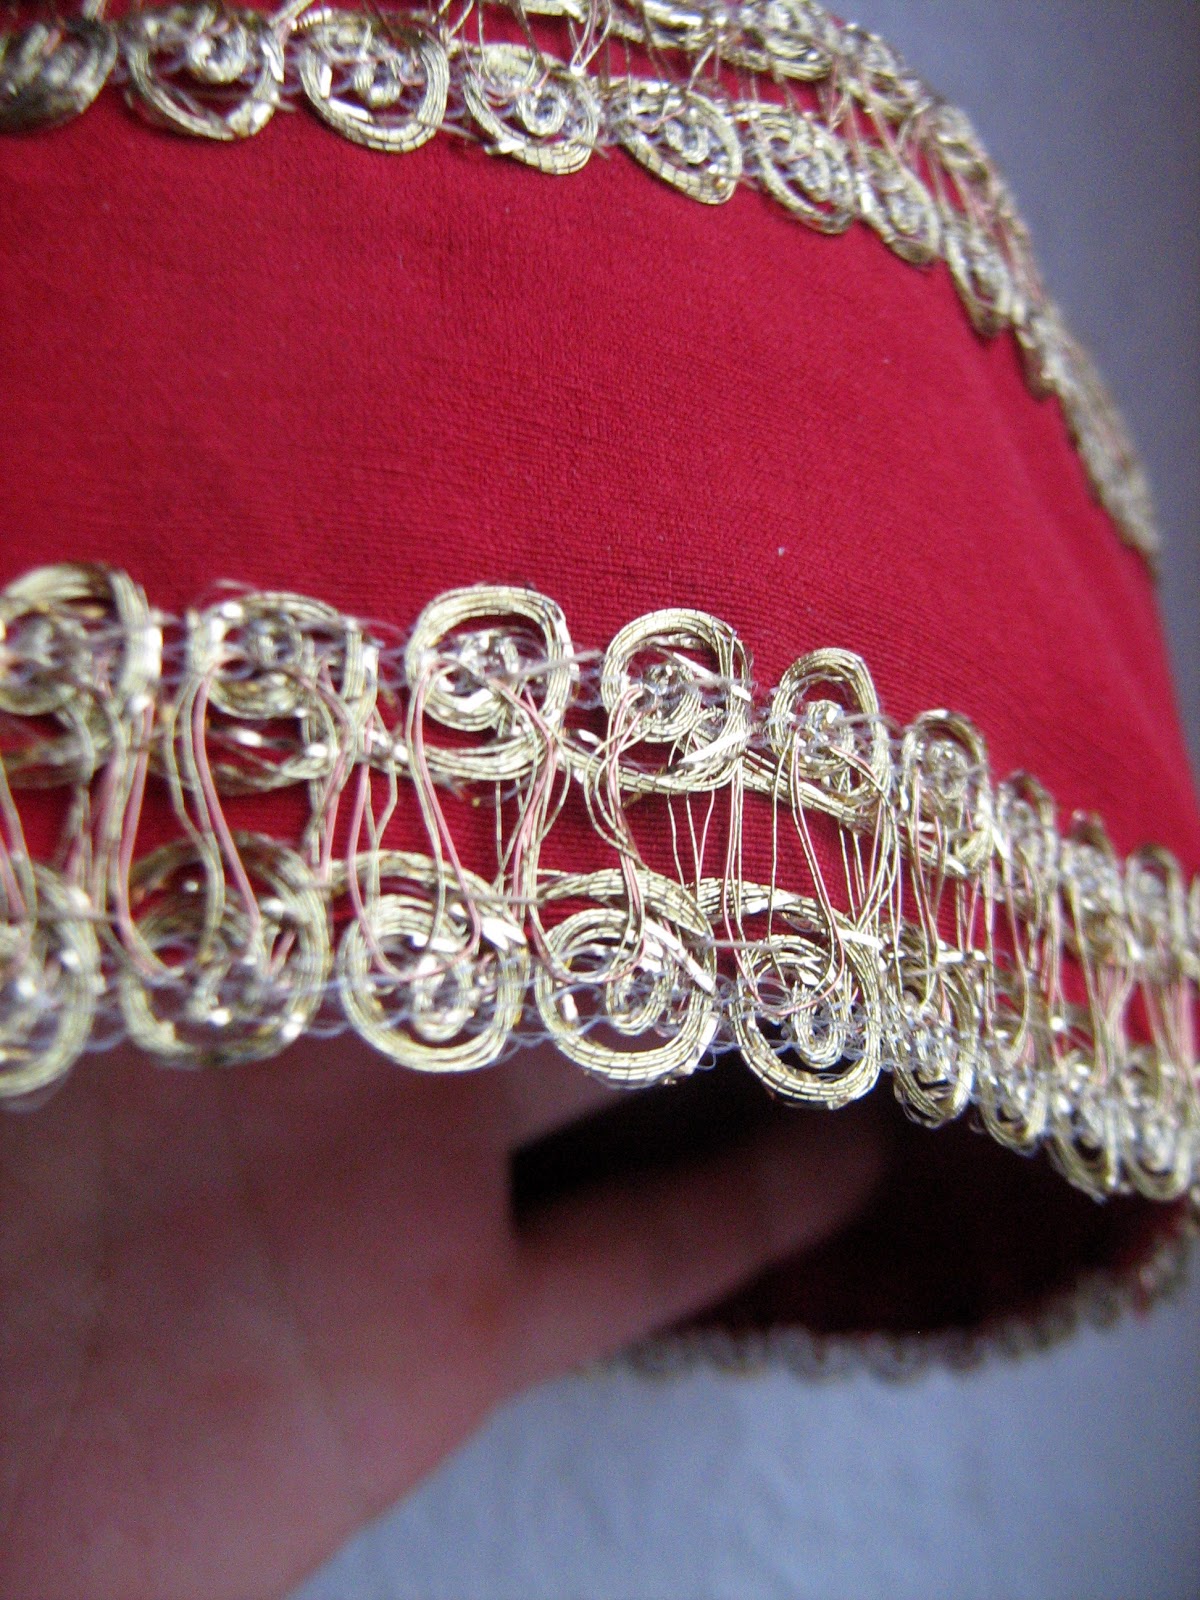
 I couldn't glue the metallic trim, so I had to sew it, but glueing will save you a lot of time.
Then the feathers: Unite a youple of them to a bunch and fix it with maskin tape. Make now a small pocket of the same tape, but inverse in order to insert the featers here. Hide the pocket behind a "jewel". You can also glue the feathers here right away, but I wanted them to be detachable. You never know how you will transport your cap, and after a performance maybe you just want to toss it into your suitcase. 

 Now add all the other decorations you want. Nip off superfluous rings from the metal pieces.
And glue!
For the final shape of the cap use some cheap, sticky hair spray. Spray abundantly on the inside of the cap  and while wet, mould it into the right shape.
Finally add a thin elstic strap to secure the cap on your head, eventually use also some bobby pins.
Done!!

Freitag, 17. August 2012

Kalbelia Costume I: Needs a lot of Patience...


For an upcoming workshop of Kalbelia dance I threw myself into sewing a costume.
The skirt is the central piece as the dance is full of whirling and spinning (see the first picture).


With a readymade dance skirt from Hongkong purchased from here, lots of ribbons from my stock and some fabric to recycle the adveture began:


  The diamonds are cut out from the fabric and basted. A narrow white ribbon will cover the edges later.


Many many hours later: lots of greens and blues. Red, yellow and white will follow....

Donnerstag, 28. Juni 2012

Tutorial: Kabyle Wool Belt

 The process of learning a new folklore dance is not completed for me without making an authentic costume for myself. This usually includes a lot of costume research, fabric and jewellery purchases from the originating country via internet or in persona, and often the making of a whole costume with all of its regalia.
Fortunately I share this passions with my lovely dancing colleagues Lenajaan and Melanie and our newest treasure is a dance from the Kabyle (Berber) region of Bedjaia, Algeria.
I brought the costumes from our last visit at our in laws, but then I felt that somehow something was missing.
Flipping through pictures of other dance groups I frequently saw woolen belt with pompons and tassels and finally I also found a specimen I thought I could imitate (picture credit: here)


So here comes the process; not particularly difficult but quite time consuming.

I collected wool from my stash in the typical colours white, black, red, yellow and turquoise. Make a couple of tassels and pompons.
Measure the length of the belt generously. Calculate that you will like to have the tassels dangling in front of you and / or sidewise.
Cut 20 sections of yarn of the desired length of the belt.


Start decorating the belt with wool straps securing them with a knot at the desired place and winding it around the belt creating contrasting sections.
You can also braid  some sections using contrasting yarns. Then add tassels and pompons.


Here are the belts for the three of us:
 
And here we are "in action": :-D
(its me on the left)