Mittwoch, 7. November 2012

Dreams of Orange and Purple: Orange-Black Currant-Ginger Jam

 In August the garden is full of fruits and vegetables, besides there are so many other things to to, so when it is possible I just freeze a part of the crop and leave the preserves for later.
With this grey and foggy november weather I yearn for some colours and tried a new combination: black currant, orange and fresh ginger preserve.
You need:
1 kg black currant
1 kg Orange slices
1 kg 1:1 gelling sugar
5 cm of fresh ginger root

Mix fruits and sugar. Add raped ginger. Boil. Fill into jars.
This preserve is not very sweet and goes wonderfully with cheese or meat.


Dienstag, 6. November 2012

Tutorial: Qawwali Cap

Ready to go - here are the six Qawwali Dance Caps for my dear friends from the Indo-German Dance Duo Srijan. It was not easy to create those caps from the scratch, so I will show you now the most important steps so that you can avoid the mistakes I made on the way!
First we had to choose a model for the cap.
The Qawwali cap for women is modelled on the shape of the taqiyah cap for men - a traditional (prayer) cap worn by observant muslims. There are different shapes with different names all over the muslim world, but they are variations of the small short rounded prototype.
We chose a model with an oval base and two points, with an ostrich feather.  

So the most tricky thing was to find the exact basic shap. Since the center is oval i cannot give you any directions how to calculate the exact pattern. And probably it is more simple if you measure the circumference of your head ar the point you want to wear the capwith a paper strip and then to try to draw an oval shape that has the circumference of the same length like the strip.


I had to throw away the first set of ovals because I just drew them from my imagination and the caps were then way to small!
The second batch worked quite well.
Now you have the base.
You can line it and glue some other fabric remnant on the wrong side. Or you just leave it unlined, that depends on the fabric and on how stiff you want the cap to be (you can stiffen it later, too).

Then comes the most funny part: decorating!!
Grasp everything shiny and glittering you find in your stash or in the dollar store.
Earrings, feathers, ribbons. Exspecially around christmas you can find great metallic ribbons for almost no money.
Add hotfix stones (not in the picture) and GLUE!

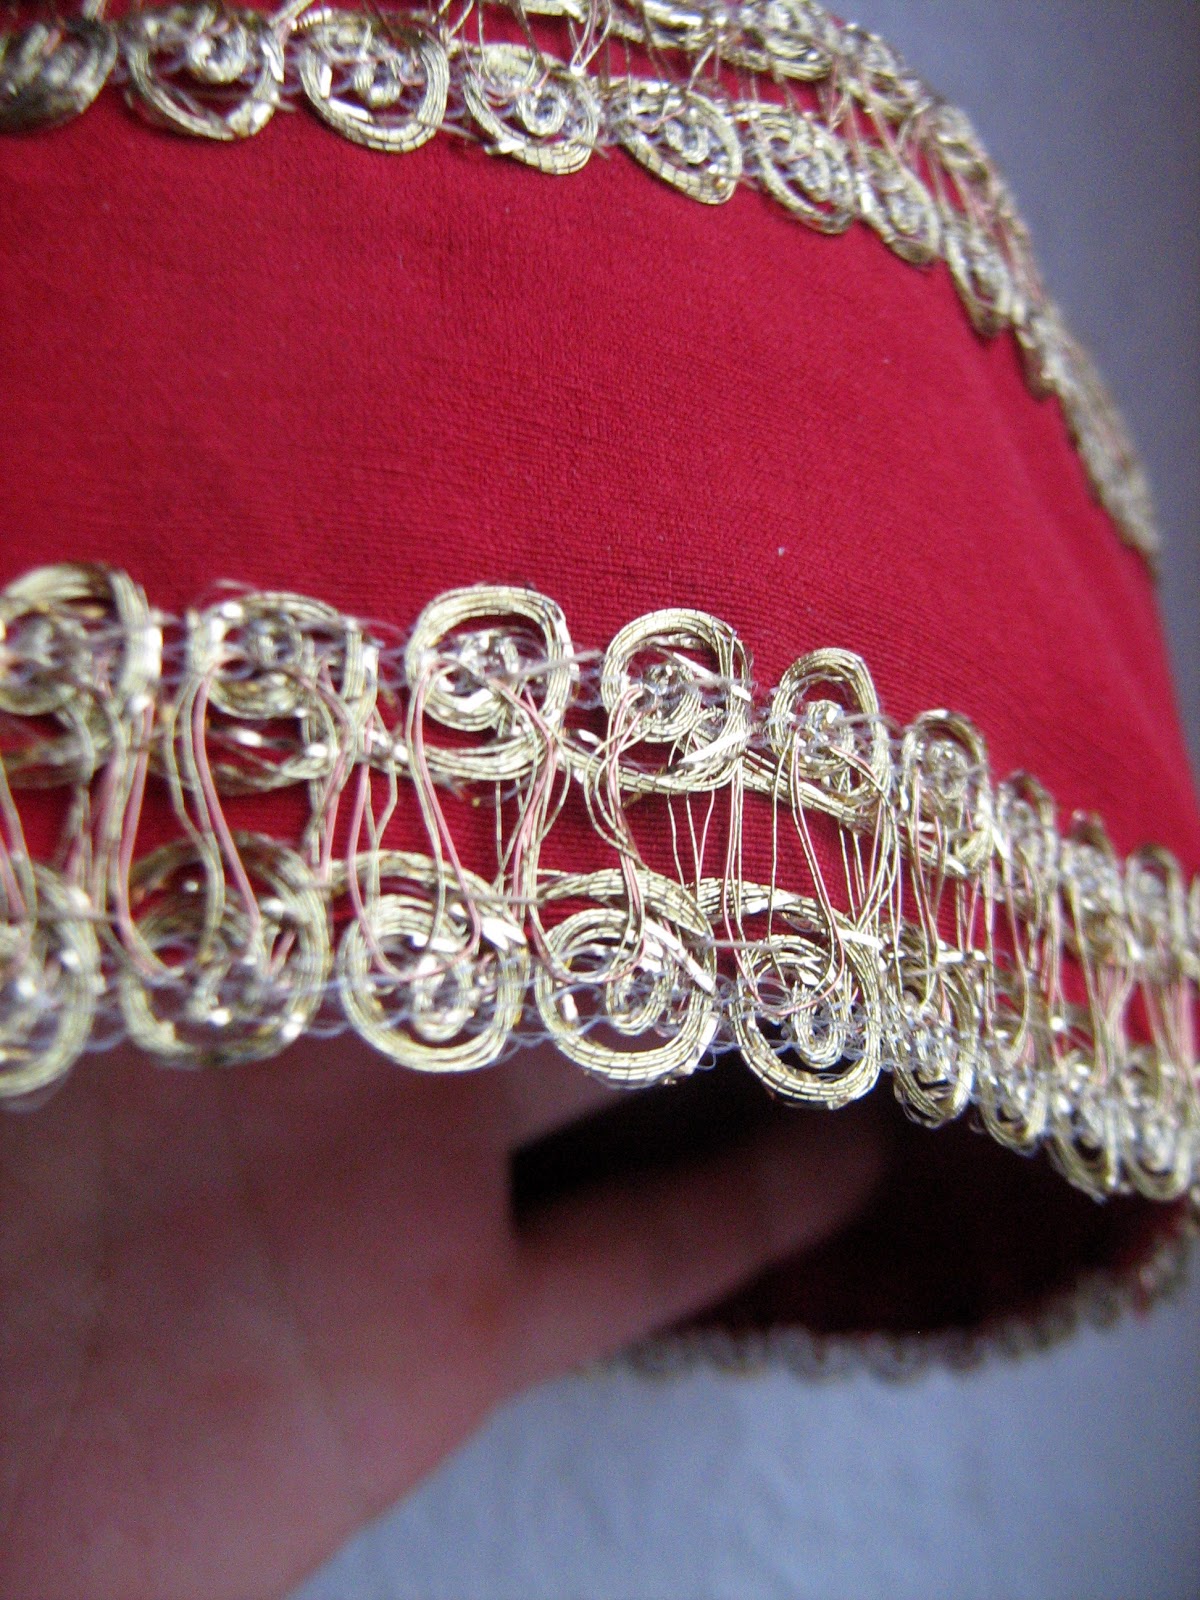
 I couldn't glue the metallic trim, so I had to sew it, but glueing will save you a lot of time.
Then the feathers: Unite a youple of them to a bunch and fix it with maskin tape. Make now a small pocket of the same tape, but inverse in order to insert the featers here. Hide the pocket behind a "jewel". You can also glue the feathers here right away, but I wanted them to be detachable. You never know how you will transport your cap, and after a performance maybe you just want to toss it into your suitcase. 

 Now add all the other decorations you want. Nip off superfluous rings from the metal pieces.
And glue!
For the final shape of the cap use some cheap, sticky hair spray. Spray abundantly on the inside of the cap  and while wet, mould it into the right shape.
Finally add a thin elstic strap to secure the cap on your head, eventually use also some bobby pins.
Done!!

Sonntag, 16. September 2012

Spinning!

 I confess: my latest addiction is spinning. Be it traditionally with wool or with fabric leftovers. Fabric stripes and a whatsoever cone yarn make an absolutely gorgeous designer yarn. Good to upcycle some worn out clothes!


Spinning with wool is much more challenging, but I still like my first handspun yarn. So much that I crocheted it into a cap with ... uhm, a certain character... ;-)

Welcome Fall!

My garden is blessing me with oodles of fresh veggies ... what a bliss! That means a lot of colours, fun and a lot of time in the kitchen.See below (clockwise):
Apple sauce and pickled zucchini - vegetable casserole with potatoes, tomatoes and green beans - soup with cauliflower, pumpkin, potatoes and zucchini - very chocolatey cake.
Yum!

Montag, 3. September 2012

Crafting Space Makover!!

Yes, it was time... This used to be the darkest spot of our home and I felt so ashamed when vistors lurked through the curtains. So after two years of feeling too worn out and tired to do anything to make this space usable a sunny saturday gave me the force to begin what was a herculean task. This is actually not the realy "before" picture, because piles of books and mags have already been taken out, plus a sewing machine and a huge spinning wheel!
So I cleared the space completely and wiped the winter garden from floor to top. It took me hours.

Then I finally took care of this small dresser, which was standing abandoned on the street. It had be sitting in the basement for years waiting to be loved again. Initially I thought of spraypaintng it. But it turned out very ugly, probably because I had no idea for what size of surface the tin would be sufficient for. Luckily I found a leftover of white acrylic paint that had to do the job (it was sunday, all shops closed). So next time, insted of wasting a tin of spraypaint I should invest on new acrylic paint. But finally I like the outcome, with distressed edges for some shabby chic.
But after hours of wiping and polishing I am really happy. And even the spinning wheel found its place :-)
 The beads and supplies are all neatly organized in screw top jars or translucent boxes. The shelves used to carry the ever-growing piles of books in my student appartement - now they have a new life.
 A reading corner with books and dictionaries for my PhD thesis...
 

 What a fatigue! But it was worth it...  Now I have a new sacred space for creativity and ... only myself (oh, yes, my daughter got a small share of it. A little box with mixed beads that she can play with whenever she likes :-))
How did you (re-)arrange your creativity space? I'd love to see it!


Freitag, 17. August 2012

Kalbelia Costume I: Needs a lot of Patience...


For an upcoming workshop of Kalbelia dance I threw myself into sewing a costume.
The skirt is the central piece as the dance is full of whirling and spinning (see the first picture).


With a readymade dance skirt from Hongkong purchased from here, lots of ribbons from my stock and some fabric to recycle the adveture began:


  The diamonds are cut out from the fabric and basted. A narrow white ribbon will cover the edges later.


Many many hours later: lots of greens and blues. Red, yellow and white will follow....

Freitag, 6. Juli 2012

Zucchette sott'olio: Pickled Courgettes South Italian Type

Hey, the harvesting season in the garden has already begun and the first courgettes (zucchini) are ready to be picked!
(The pics from the following recipe are from last year and I never managed to post them)
 When I studied in Padova, Italy, my house mate from Bari in Southern Italy used to bring the most delicious pickled vegetables from her trips home. Since then I have been dreaming of the yummy taste of olive oil, herbs, garlic and vinegar. Now that I tried it it turned out to be quite easy and a good alternative to freeze the vegetables when you harvest a lot of them every day. You can even use those that have grown too much and tend to have a rather stiff peel.
Ingredients:
1l vinegar
salt
spices as you please (pepper, chili, bay leaves, and garlic are the base. You can add whatever you like)
olive oil
sealable jars

1. Peel the zucchini and cut them into thin slices. Salt hem abundantly and leave them for 2-3 hrs in a colander. They will loose a lot of water.
2. Mix water and vinegar half and half. You can add bay leaves and some aceto balsamico for taste. When the mixture is boiling, add the zucchini and cook for 2-5 min. They should not be completely cooked.
3. Let the zucchini dry on a towel, then fill layers of zucchini and spices alternately into a sealable jar. Add olive oil until it covers the last layer of zucchini. This is absolutely important, otherwise the vegetables will rot. Leave it for 3 weeks before consumption.

The pickled zucchini last several months without any problem. Just make sure they are always covered with oil.